It was the third and last battle of the Malifaux league; we’ll have a tournament to decide it all in a couple of weeks.
Since the last game, Wyrd Games released their Fourth Edition crew builder for iOS, so I can finally have a good look at the crew my opponent brought!
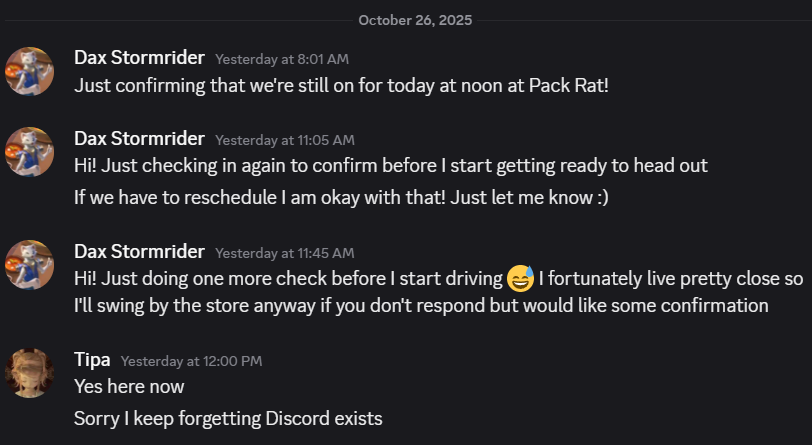
It occurred to me, after I got to the store and found myself without an opponent, to check on Discord and see if there’d been an issue.
This battle was one in which I felt I only made one real mistake, but otherwise played fairly well. Usually, after a match, I go over it to figure out ways in which I could have played better. I’m not sure I could think of anything I really did terribly wrong, but there are things I would do differently.
Alright, here we go.
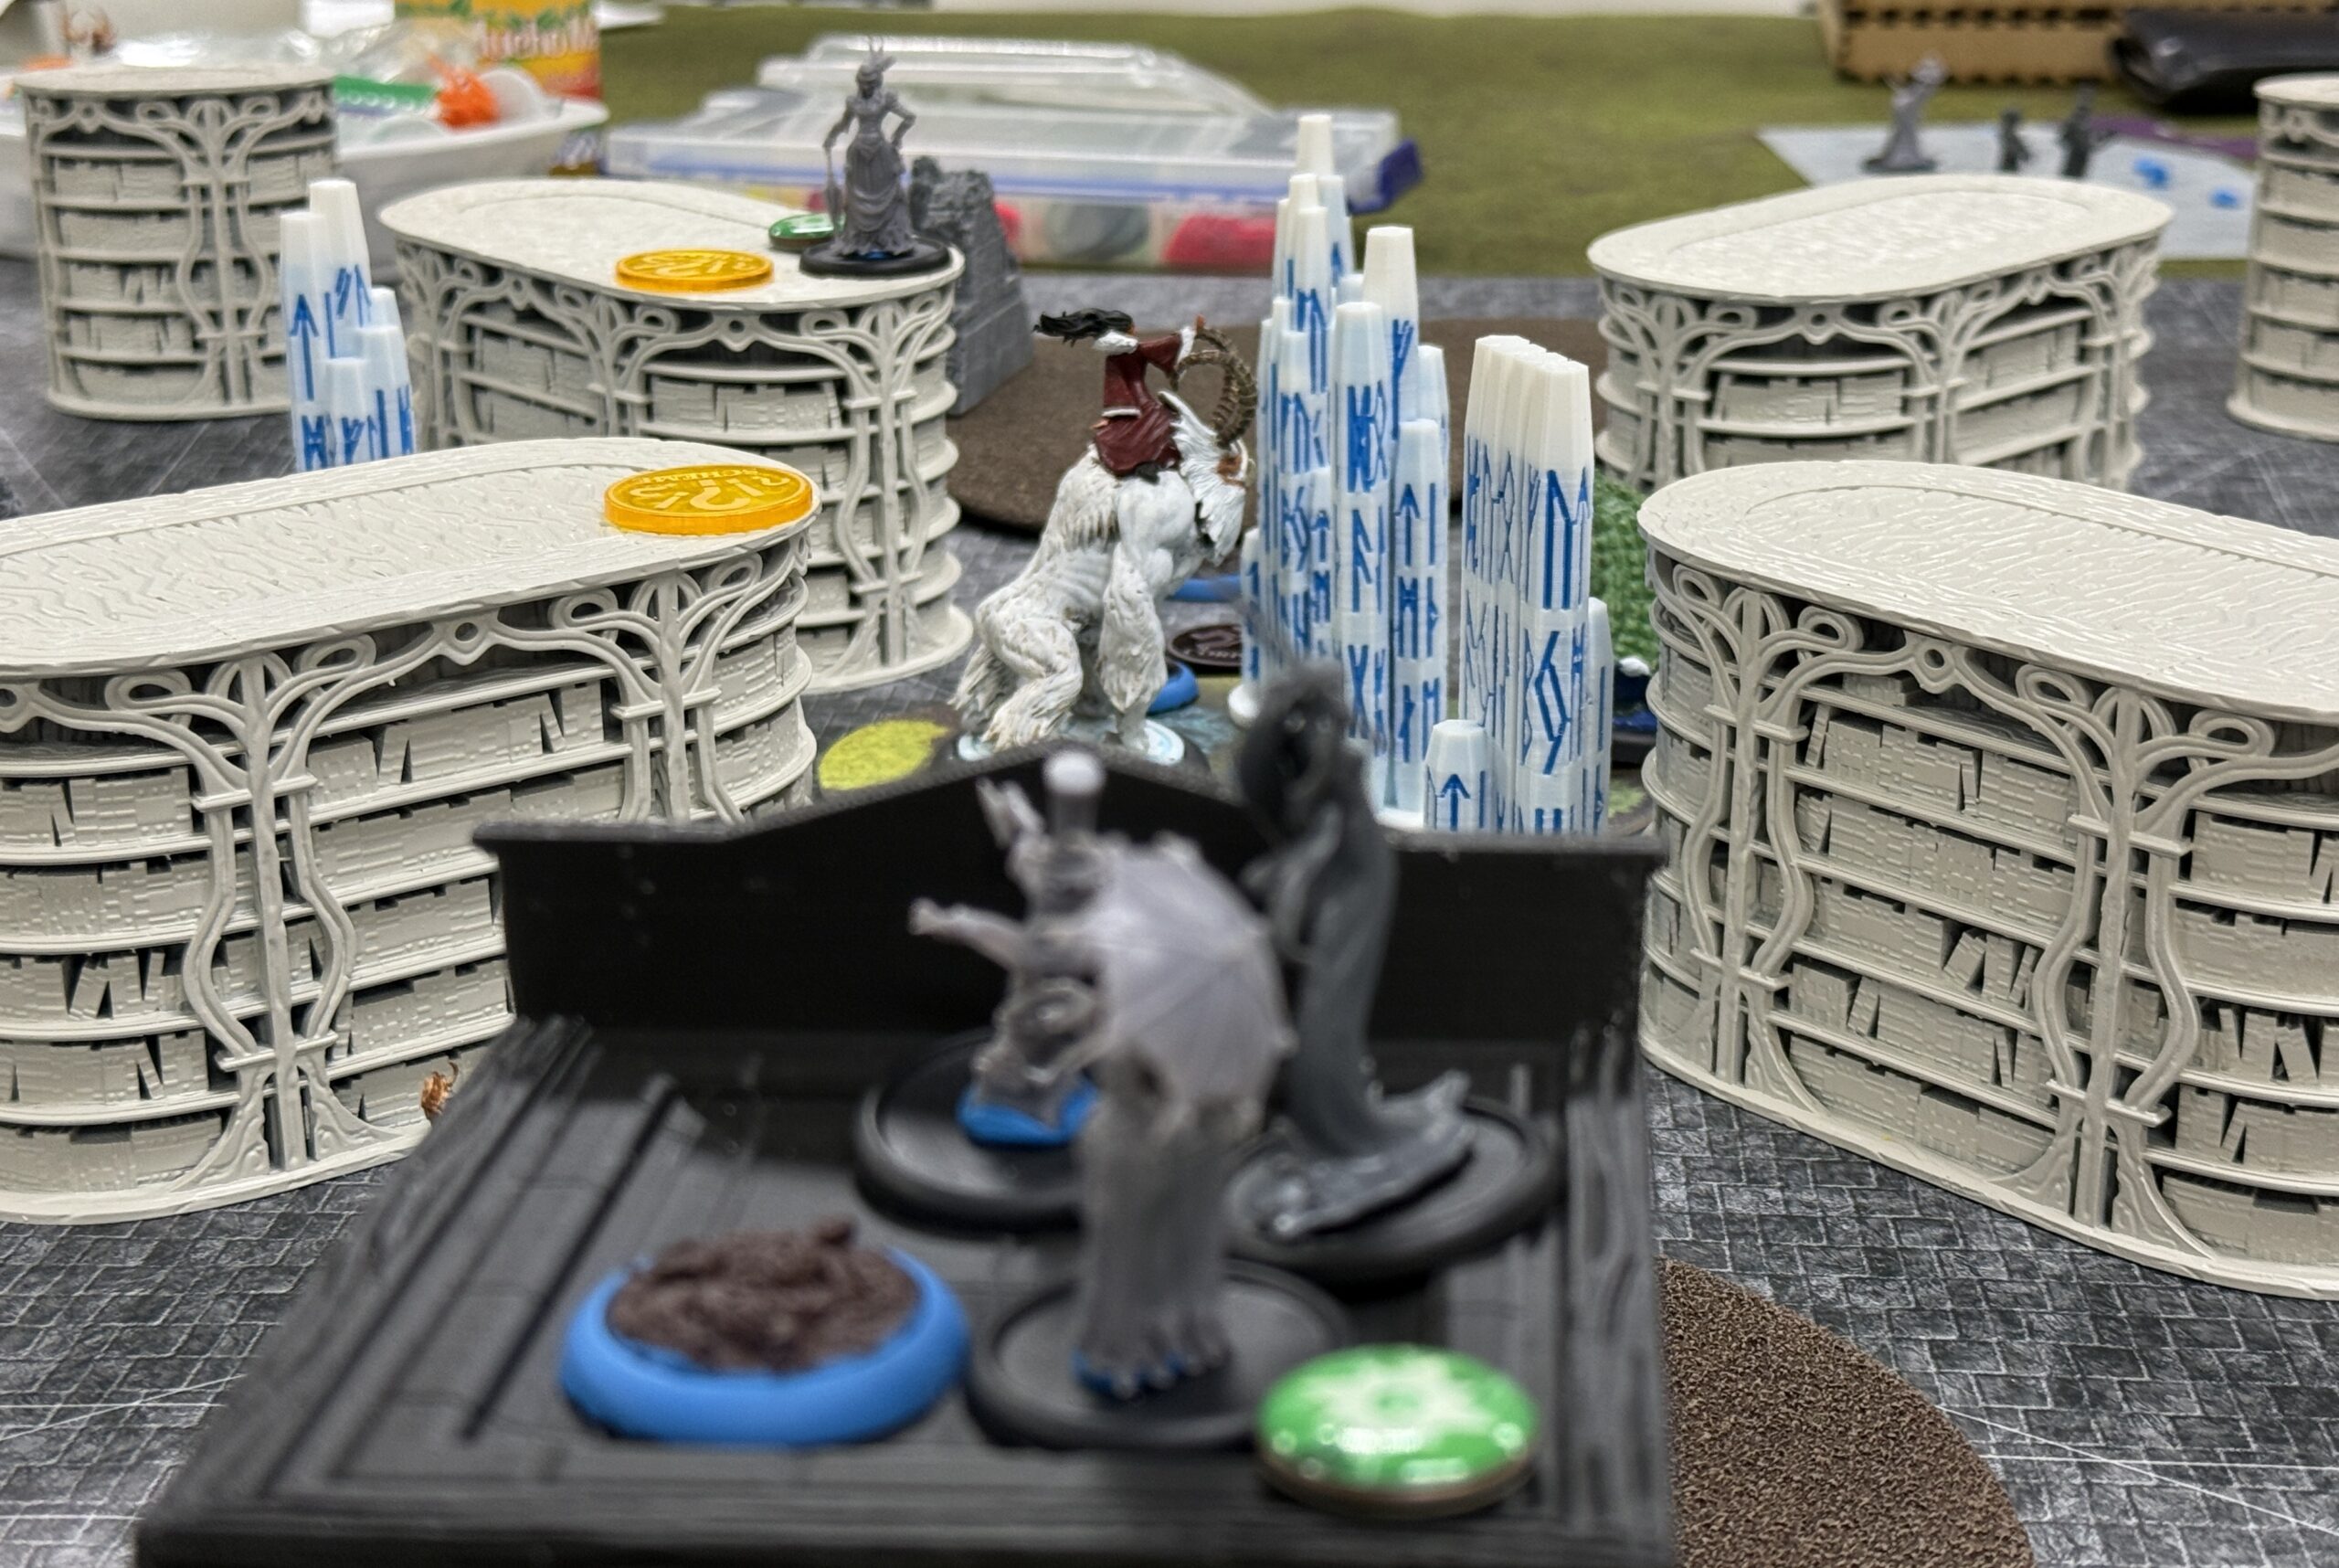
My team: Insane Goblin Mode Ice Sorceress: Rasputina, Abominable (Keyword: December)
Same team as last time: Raspy 2, Mara, Ceddra, Bashe, Snow Storm, December Acolyte, Silent One, Blessed of December. Check out earlier posts for details on these.
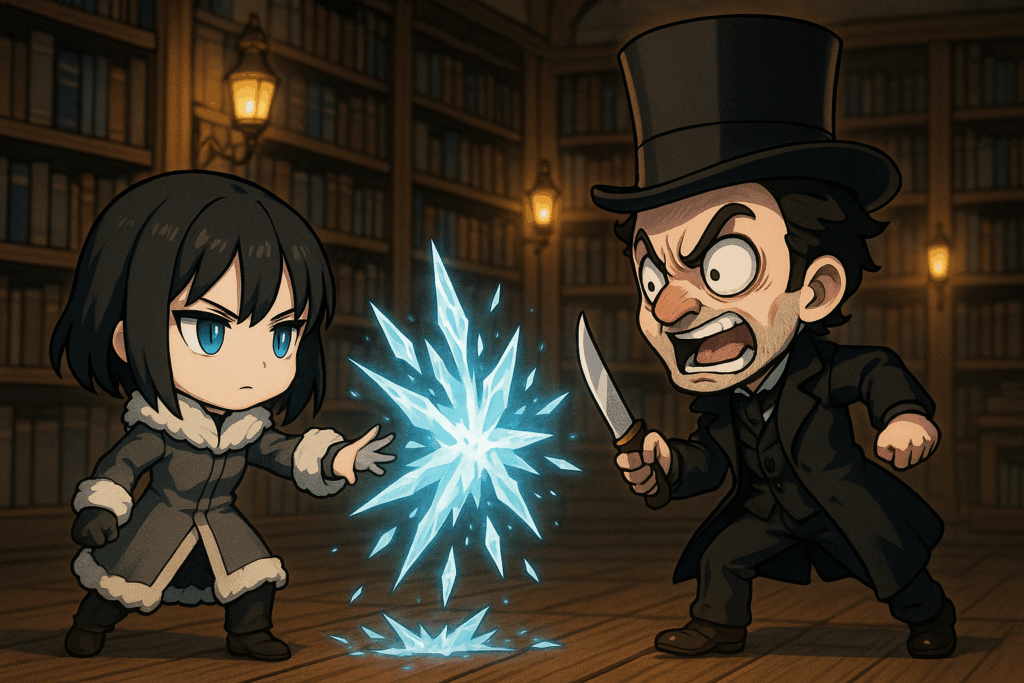
His team: Basically Jack the Ripper: Seamus, the Last Breath (Keyword: Redchapel)
In the Malifaux lore, Seamus actually is Jack the Ripper. Most of his crew are re-animated corpses of the people he’s killed.
Seamus, the Last Breath: He is stabby, can travel anywhere he wants, jumps between models, and if he is killed, he can resurrect with full health next to any of his crew with concealment. Also, he is terrifying and is basically someone you don’t want to mess with. That doesn’t stop him from messing with you, unfortunately.
Copycat Killer: Seamus’ totem, hands out Concealment and is also terrifying. Has a hilarious ability called 50 Caliber Flintlock, which is basically a really, really huge handgun. It sends him reeling back two inches when he fires it. This meant he was reluctant to fire it when he was on top of a building, because…. WHEEeeeee.
Bête Noire: Hit her and she fades away. She powers up with remains markers; she gets a free charge action from them. There were a lot of remains markers available, due to the strategy.
Madame Sybelle: Big chonk tank. She takes reduced damage from my big beaters.
Mourner: Hands out concealment on activation. Scheme runner.
Dead Doxy: Gets concealment at the start of every turn. Isn’t concealment fun?
Dead Dandy: Likes to attack enemies that are alone.
Deployment was Wedge, which is a good one for December. Strategy was Recover Evidence. I hadn’t played this one before. Each player makes a strategy marker entirely on the enemy table half; additional strategy markers are created when you kill an enemy. Additionally, once per game, a player can convert scheme markers entirely on the enemy half of the board into a strategy marker, the number of scheme markers required is the turn number. One first turn, two second turn, and so on.
Scheme pool was Detonate Charges, Search the Area and Leave Your Mark.
Turn 1
I chose Detonate Charges (remove two friendly scheme markers withing 2" of enemy units to score a point, remove three to score two points). Seamus chose Search the Area (remove three scheme markers near the same terrain on the enemy half of the board and with no enemy units nearby).
I placed my December Acolyte next to the strategy marker and picked it up; Seamus used the Scheme Marker trade to earn a strategy marker.
We both moved cautiously up. I prepared the center area with several ice pillars in order to support Snow Storm and Blessed, both of whom empower. I strategically fail to move Blessed within range of an ice pillar, leaving her vulnerable to being pulled into the enemy deployment zone and swarmed, which happens. Goodbye, Blessed.
I resolved to have tattooed on my hand for next time, “DO NOT OVEREXTEND ON YOUR FIRST TURN.” My piece disadvantage when he already had more than me does not help me win the game.
Turn 2
I start a-killing with my empowered Snow Storm and terrifying Bashe taking on all comers. Seamus slithers behind my lines, as he does, and keeps his minions to the edges of the board, running schemes. I take Take the Highground as scheme; I have to control 2-3 terrain of height 2 or more, more than 6" from my deployment zone. He thinks the terrain I am on near my deployment zone is scorable, so he moves everything he can there. He’s wrong; Bashe and Acolyte due the trick, but now he has even more stuff on my side of the board and I am feeling a little bit threatened. Seamus took Breakthrough, which is having a scheme marker in my deployment zone. He makes it easily.
By this time, Ceddra has transformed into her stag form and has done some damage and taken some damage in return, leaving her with one health. She can’t leave the rooftop she is on without dying (I thought; it turns out you cannot kill yourself with damage, so she could have left). She couldn’t transform back to human (healing 2) because then she wouldn’t have her Demise ability of instantly healing four points if she dropped to zero while in stag form.
Spoiler alert – Ceddra lived the entire game and ended at six health, so… that was cool. I didn’t make strategy this turn.
Turn 3
I’d killed several of his models, but Seamus’ minions killed Mara, and Seamus himself teleported to my Acolyte and stabbed him to death. Raspy wasn’t able to summon him back as her positioning was off; she needs to be within 6" of an ice pillar entirely within the enemy table half, and flip a ten or better. She was too far away, and she was being continuously slowed by Seamus’ crew, although Raspy was able to stop their activations occasionally at the cost of a soul stone. I was earning those back by killing enemy models within 2" of an ice pillar, and of course when my own models died, but I was spending them at a furious pace as well.
My scheme was Ensnare, have two friendly scheme markers next to an enemy unit, and I did that on the Copycat Killer after it moved. Seamus had Assassinate, bring an enemy unit below half health, which occurred while he was killing Mara.
At this point, Bashe and Snow Storm are still in the center, killing anything that comes close, but the action has moved into my deployment zone and they don’t have many targets. Three of Seamus’ units, including the man himself, are on top of the building where Acolyte was sniping and are essentially out of my reach. Raspy is running around trying to pin Seamus’ mobility down with ice pillars. Ceddra is just trying to do as much damage as she can before she dies. She is finally killed, but immediately resurrects at four health and Seamus cannot kill her again, so her demise resets. I don’t make strategy this turn.
Turn 4
I am way down on units on Turn 4, but I do my best. I picked Reshape the Land, put three or four friendly markers on the enemy half of the board. I happily use Entombed in Ice to place three there and use my Silent One (I think she was still alive) to make another. Unfortunately for me, I ran out of models before Seamus did, and he went over and broke enough pillars so that I could not make the scheme. Seamus had Scout the Rooftops (leave scheme markers on 2-3 different roofs) and made the extra point. I did make the strategy, but in the end there was little I could do to score in the last turn and so we ended the game, 9-5 Seamus.
Aside from overextending at the start of the game, I didn’t make any major mistakes. I might have tried harder to pin Seamus down, but his terrifying aura made that difficult for any units that didn’t get a built-in positive flip – Snow Storm and Blessed near ice pillars, Acolyte from rooftops. Empowered Entombed in Ice would have been the way. I don’t have anything that can ignore terrifying aura; I may have to look into versatile models for help. It’s a real issue.
Even though it was a loss, it was a fun game, as always :-)